Use Light Guide Design Enhancements for Reduced Backlight Bleed on Graphic Overlays
If you produce lighting systems for products, you may be wondering how to fix backlight bleed on an overlay. Backlight bleed can be a frustrating issue, but there are some things you can do to reduce it. Read on to learn more about light guide design, backlight bleed and ways to reduce it.
What is Backlight Bleed?
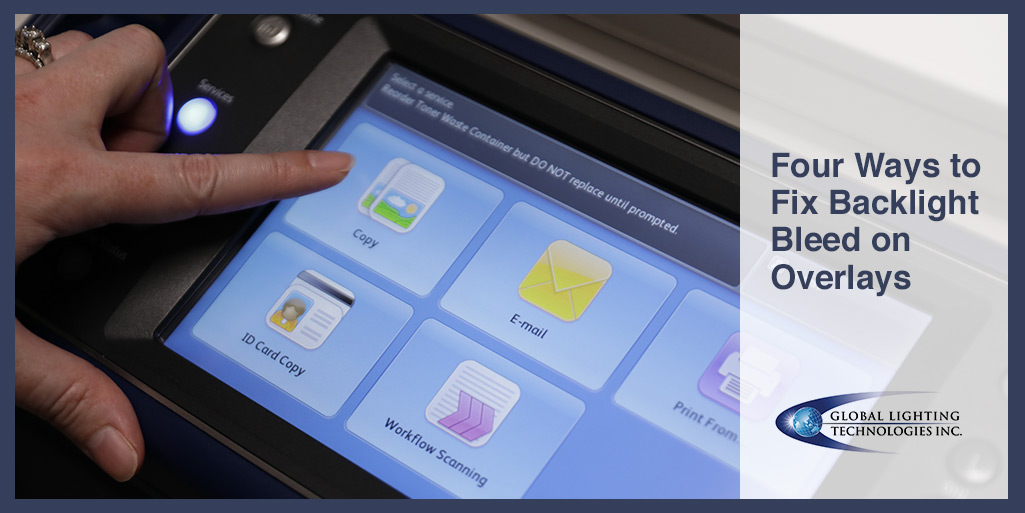
Think of backlight bleed as an annoying leak. When you add graphic overlays to devices, every icon within the overlay is individually lit by an LED bulb behind it. Ideally, when a user touches a single icon, it lights up but the rest of the screen remains dark.
The issue is that light naturally wants to go everywhere. When a user pushes one icon on the screen, other icons will brighten because the LED light is spilling over into other sections of the screen.
Backlight bleed is more common in capacitive touch applications. Many of these devices contain graphic overlays that have multiple icons or buttons. Given the thinness of these applications and the minimal space between the icons and LEDs behind them, uncontrolled light leaks across the overlay.
While some minor backlight bleed is expected and even tolerable, it can also be too apparent. It even leads users to assume their devices are malfunctioning or broken.
Light Guide Design Solutions
We’ve helped our clients minimize backlight bleed with years of experimentation and finetuning. Our innovative light guide design adds different design features for better backlight control.
Here are four options that allow us to maintain the overall thinness of the light guide:
- Cutout design – A cost-effective option to decrease light bleed is to make cuts with our in-house lasers directly into the light guides. These cutouts allow for better light blockage and control. While some light escapes the guide, it won’t spill over into unintended areas of the overlay.
- Housing (with ribs) design – We’ve developed another solution that leverages white plastic housing with “ribs” or raised features that slide into the cutouts of the light guide. The housing ribs reflect light back into the light guide instead of letting it pass through any air gaps and into the neighboring section. The downside to this option is that the plastic housing adds more weight to the light guide, so it’s not always ideal for ultra-thin applications.
- Foam design – Instead of housing ribs, we insert black foam to absorb escaping light. While this design is similar to a light guide with housing, the foam isn’t bulky and you can maintain a thin assembly.
- Overmold design – Our overmold design is multiple small light guides with cutouts, fused together with a plastic molding to block backlight bleed. This process allows for no additional components (housings or foam) to be added to the assembly while still blocking light bleed. While this option is highly effective, it does require additional mold tooling and design, which makes it more expensive.
The right light guide design depends on your project requirements, volume and budget. However, it can be difficult to make the smartest decision without a B2B custom light guide partner on your side.
Our lighting experts help determine which option will deliver the absolute best results. We use our optical software to simulate where backlight bleed may occur within a given graphic overlay. This is just one way we work closely with you during a light guide design engagement.
Do you need help controlling backlight bleed or another custom lighting solution? Contact us today.