Table of Contents
- Light Guide Applications: Where Can You Integrate Illumination?
- Why Illumination Prototypes Matter
- Turning Concepts into Scalable Solutions with Prototyping
- Optimizing LED Backlighting for Efficiency
- Selecting the Right Materials & Manufacturing Methods
- From Prototype Methodology to Production: Partnering for Success
- Real-World Prototype Success Stories
- Accelerate Your Project with a Successful Prototype Methodology
A practical guide for project engineers on how light guide prototype methodology helps accelerate product development for reliable device or product performance.

Jonathan Tarnay
Project Sales Manager
Jon closely collaborates with OEMs throughout project lifecycles to understand their illumination needs and bring visionary ideas to life.
At Global Lighting Technologies, we define prototype methodology as the process of creating a preliminary version of a light guide to test and evaluate its functionality, design, and performance before moving into final production.
This approach ensures prototypes meet optical performance targets, integrate seamlessly into final products, and are manufacturable at scale.
For project engineers, the challenge is balancing brightness, uniformity, power consumption, and physical integration, all under tight timelines and budgets. Without a structured methodology, prototyping can quickly become a bottleneck.
With decades of experience, Global Lighting Technologies has refined a proven prototype methodology that helps engineers validate designs faster, reduce risk, and transition confidently into production.
Let’s dive in to understand why illumination prototypes matter, how not every prototype methodology is the same, where illumination can integrate into products (some applications might surprise you), and more.
Light Guide Applications: Where Can You Integrate Illumination?
Illumination plays a crucial role in countless applications, from smartwatches and keyboard backlights to LCDs and LED displays. Light guides enhance devices where visibility, usability, and aesthetics all matter. Well-designed light guides can benefit anything flat, uniform, thin, curved, or complex in shape.
For a project engineer, turning an illumination concept into a functional prototype often means solving multiple problems at once. You may be tasked to:
- Optimize brightness and uniformity
- Manage power consumption
- Ensure the design integrates seamlessly into the product’s form factor.
Rapid prototyping allows you to test these variables early, make informed adjustments, and avoid costly redesigns later in development.
By approaching each prototype as both a technical challenge and a performance test, you can accelerate development, improve reliability, and ensure the final product meets both engineering requirements and end-user expectations.
Consult our experts for your project.
Why Illumination Prototypes Matter
Integrating illumination early in the prototyping phase safeguards against delays, rework, and unexpected performance issues. As a project engineer, you’re already balancing timelines, budgets, and technical requirements; the addition of lighting late in the process can create costly ripple effects.
When illumination is considered from the start, you can:
- Identify failure points early: Catch issues with brightness uniformity, hot spots, or light leakage before they’re locked into the design.
- Validate the look and feel: Light guides affect not only performance, but the user’s perception of quality. Prototypes allow you to test how the product will actually appear in real-world use.
- Optimize for performance: Adjust LED placement, optical patterns, and materials to hit targets for brightness, power efficiency, and visual impact.
Lighting challenges—whether in a human-machine interface, an LCD backlight, or another illuminated component—can directly impact project timelines. Without early testing, engineers may face late-stage redesigns that require new tooling, additional approvals, and extended validation cycles.

Light Guide Prototypes Outputs & Lessons Learned
See prototyping outputs and lessons learned from our engineers who’ve been in your shoes.
For project engineers, it’s also valuable to understand how a manufacturing company’s prototype methodology fits into the big picture. Take a look at our complete design process for LED lighting technology projects written by our president, Brett Shriver.
Turning Concepts into Scalable Solutions with Prototyping
A prototype is both a model of what might be possible and the bridge between an idea on paper and a product that can be manufactured at scale. Prototyping brings concepts to life, helping you test performance in the real world, reduce risk, and build momentum with your team.
Building Confidence Through a Prototype Methodology
Prototypes do more than validate optics—they inspire confidence across the project. I’ve seen how getting a working light guide into engineers’ hands early can shift a project from abstract to tangible, energizing teams and securing stakeholder buy-in. This stage is also where risk is reduced: potential design changes surface early, before production costs skyrocket.
Designing for Manufacturability
One common misconception is that prototypes can simply be “copied” into production. In reality, prototypes focus on proving optical performance, not replicating every mechanical detail. For example, while production might rely on injection molding or roll-to-roll embossing, prototypes often use CNC machining or simplified features to evaluate light behavior quickly. This flexibility helps engineers validate function while keeping costs in check, knowing refinements will come later as designs evolve.
Navigating Timelines from Prototype to Production
Prototyping timelines are distinct from production cycles. A light guide prototype might take four to six weeks, including iterations and testing, while production runs on seconds-per-part cycles. That’s why design-for-manufacturability reviews are critical before prototyping begins—they align early iterations with what’s realistically achievable at scale, saving time down the line.
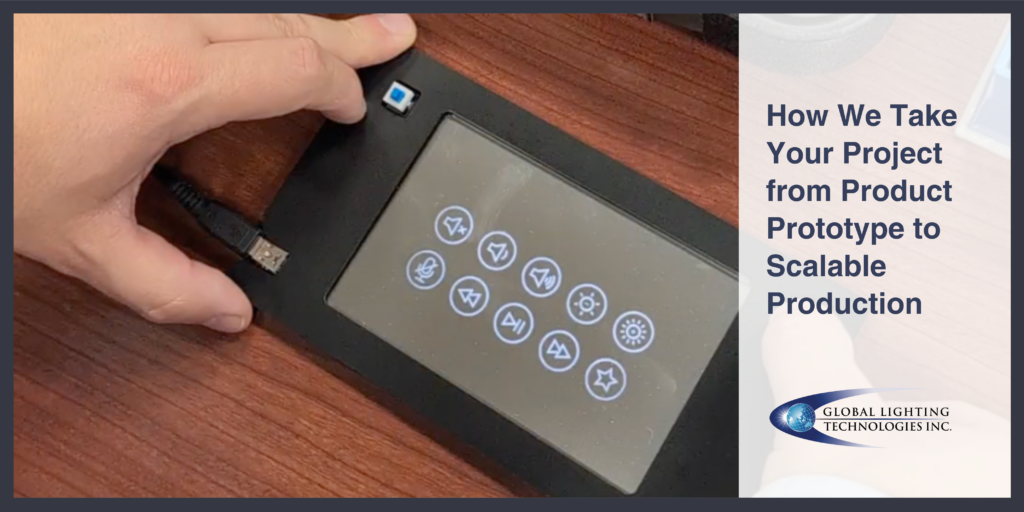
How We Take Your Project from Product Prototype to Scalable Production
A product prototype is essential to reduce risk, lower costs, and speed time to market. Learn about our proven prototype process.
Optimizing LED Backlighting for Efficiency
Efficiency challenges should be solved at the prototype stage, where tradeoffs can be explored before final tooling.
Balancing Brightness and Power
Experimenting with LED placement and material selection in prototypes helps engineers achieve brightness targets with fewer LEDs and less energy. For more detail, check out our deep dive on how to reduce power without sacrificing LED brightness. We’ll cover material choices in more depth below, too.
Custom Optical Patterns
Optical pattern prototypes allow rapid iteration to test uniformity and visual effects. Today’s precision technologies provide strong previews of final illumination.
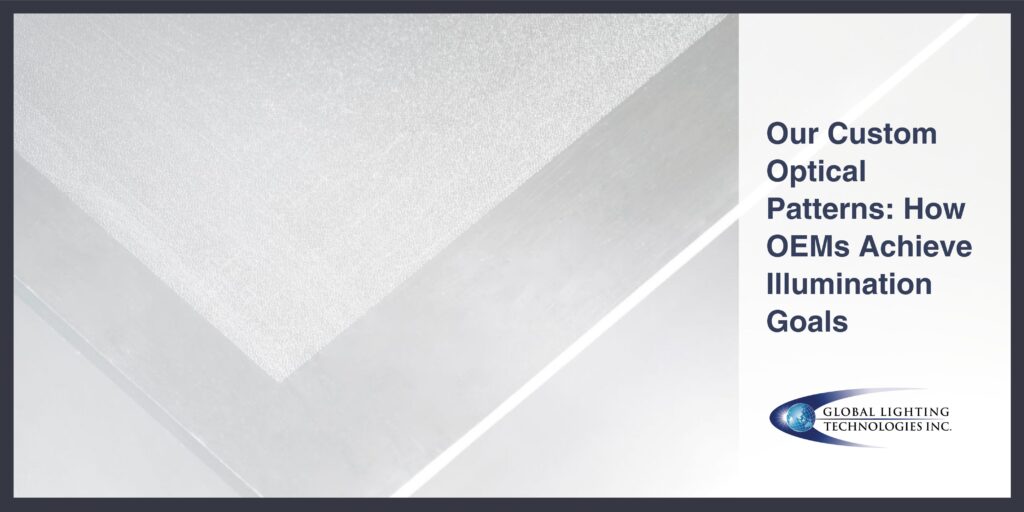
How Custom Light Guide Design Maximizes Your Manufacturing Investment
Explore how our cutting-edge microstructures redefine light guide design & performance for OEMs across industries and applications.
Selecting the Right Materials & Manufacturing Methods
A successful prototype methodology homes in on selecting the right materials and manufacturing method. These decisions shape not just the prototype’s performance but also how smoothly the design can transition into production. Testing different combinations early helps my team validate optical performance, durability, and cost-effectiveness before scaling up.
Light Guide Materials in Prototypes
Material choice has a direct impact on brightness, uniformity, and power efficiency. Acrylic offers excellent optical clarity and is often my first stop in prototyping, while polycarbonate provides greater impact resistance and can handle higher temperatures. By prototyping with both, we can quickly see how each performs in real-world conditions, which helps identify the right fit for the application. You can explore more about material and manufacturing considerations here.
Evaluating Manufacturing Processes Early
I’ve learned that prototyping is also the best time to consider manufacturing methods. Thin film embossing, for example, can achieve brightness uniformity in a cost-effective way and is faster to iterate with than some alternatives. Injection molding and extrusion embossing also offer unique benefits.
As my team creates your prototype, we always have our production methods in the back of our minds.
Leverage Global Manufacturing with Local Engineering
Prototyping doesn’t exist in a vacuum; it’s about preparing for what comes next. Having U.S.-based engineers and project managers work closely with our global manufacturing facilities gives me confidence that what works in a prototype can be scaled cost-effectively across multiple production sites. That connection between local problem-solving and global execution helps reduce surprises later in the project lifecycle.
For us, every prototype is an opportunity to test not just the optical design, but the material and manufacturing strategy behind it. The insights gained here pay off in smoother scale-up, fewer delays, and illumination solutions that meet both technical and business goals.
From Prototype Methodology to Production: Partnering for Success
As we wrap up this deep-dive light guide prototype methodology, it’s worth looking at what happens next: moving from a proven prototype into full-scale production. For project engineers, this transition is where the stakes get higher: timelines tighten, costs are scrutinized, and collaboration across vendors and partners becomes critical.
Support from Concept Through Scale-Up
One of the biggest lessons I’ve learned is that a good prototype doesn’t guarantee a smooth production launch. What makes the difference is having partners who can stay engaged from the earliest concept discussions through volume manufacturing. That continuity helps ensure the performance we validate in a prototype actually carries into the final product.
Prototyping also gives your team and ours the chance to stress-test timelines and vendor relationships. Coordinating with suppliers early helps avoid downstream bottlenecks, while integrated manufacturing reduce delays and costs. I’ve seen firsthand how this can strengthen our customers’ supply chains and minimize risks when scaling up production. I’ve covered more on this here.
Integrated Manufacturing for Greater Efficiency
What also makes a difference at this stage is the ability to consolidate processes. Our integrated light guide manufacturing allows customers to reduce component handoffs and streamline logistics, all while maintaining quality. That level of efficiency doesn’t just save money, it helps our customers hit launch dates with confidence.
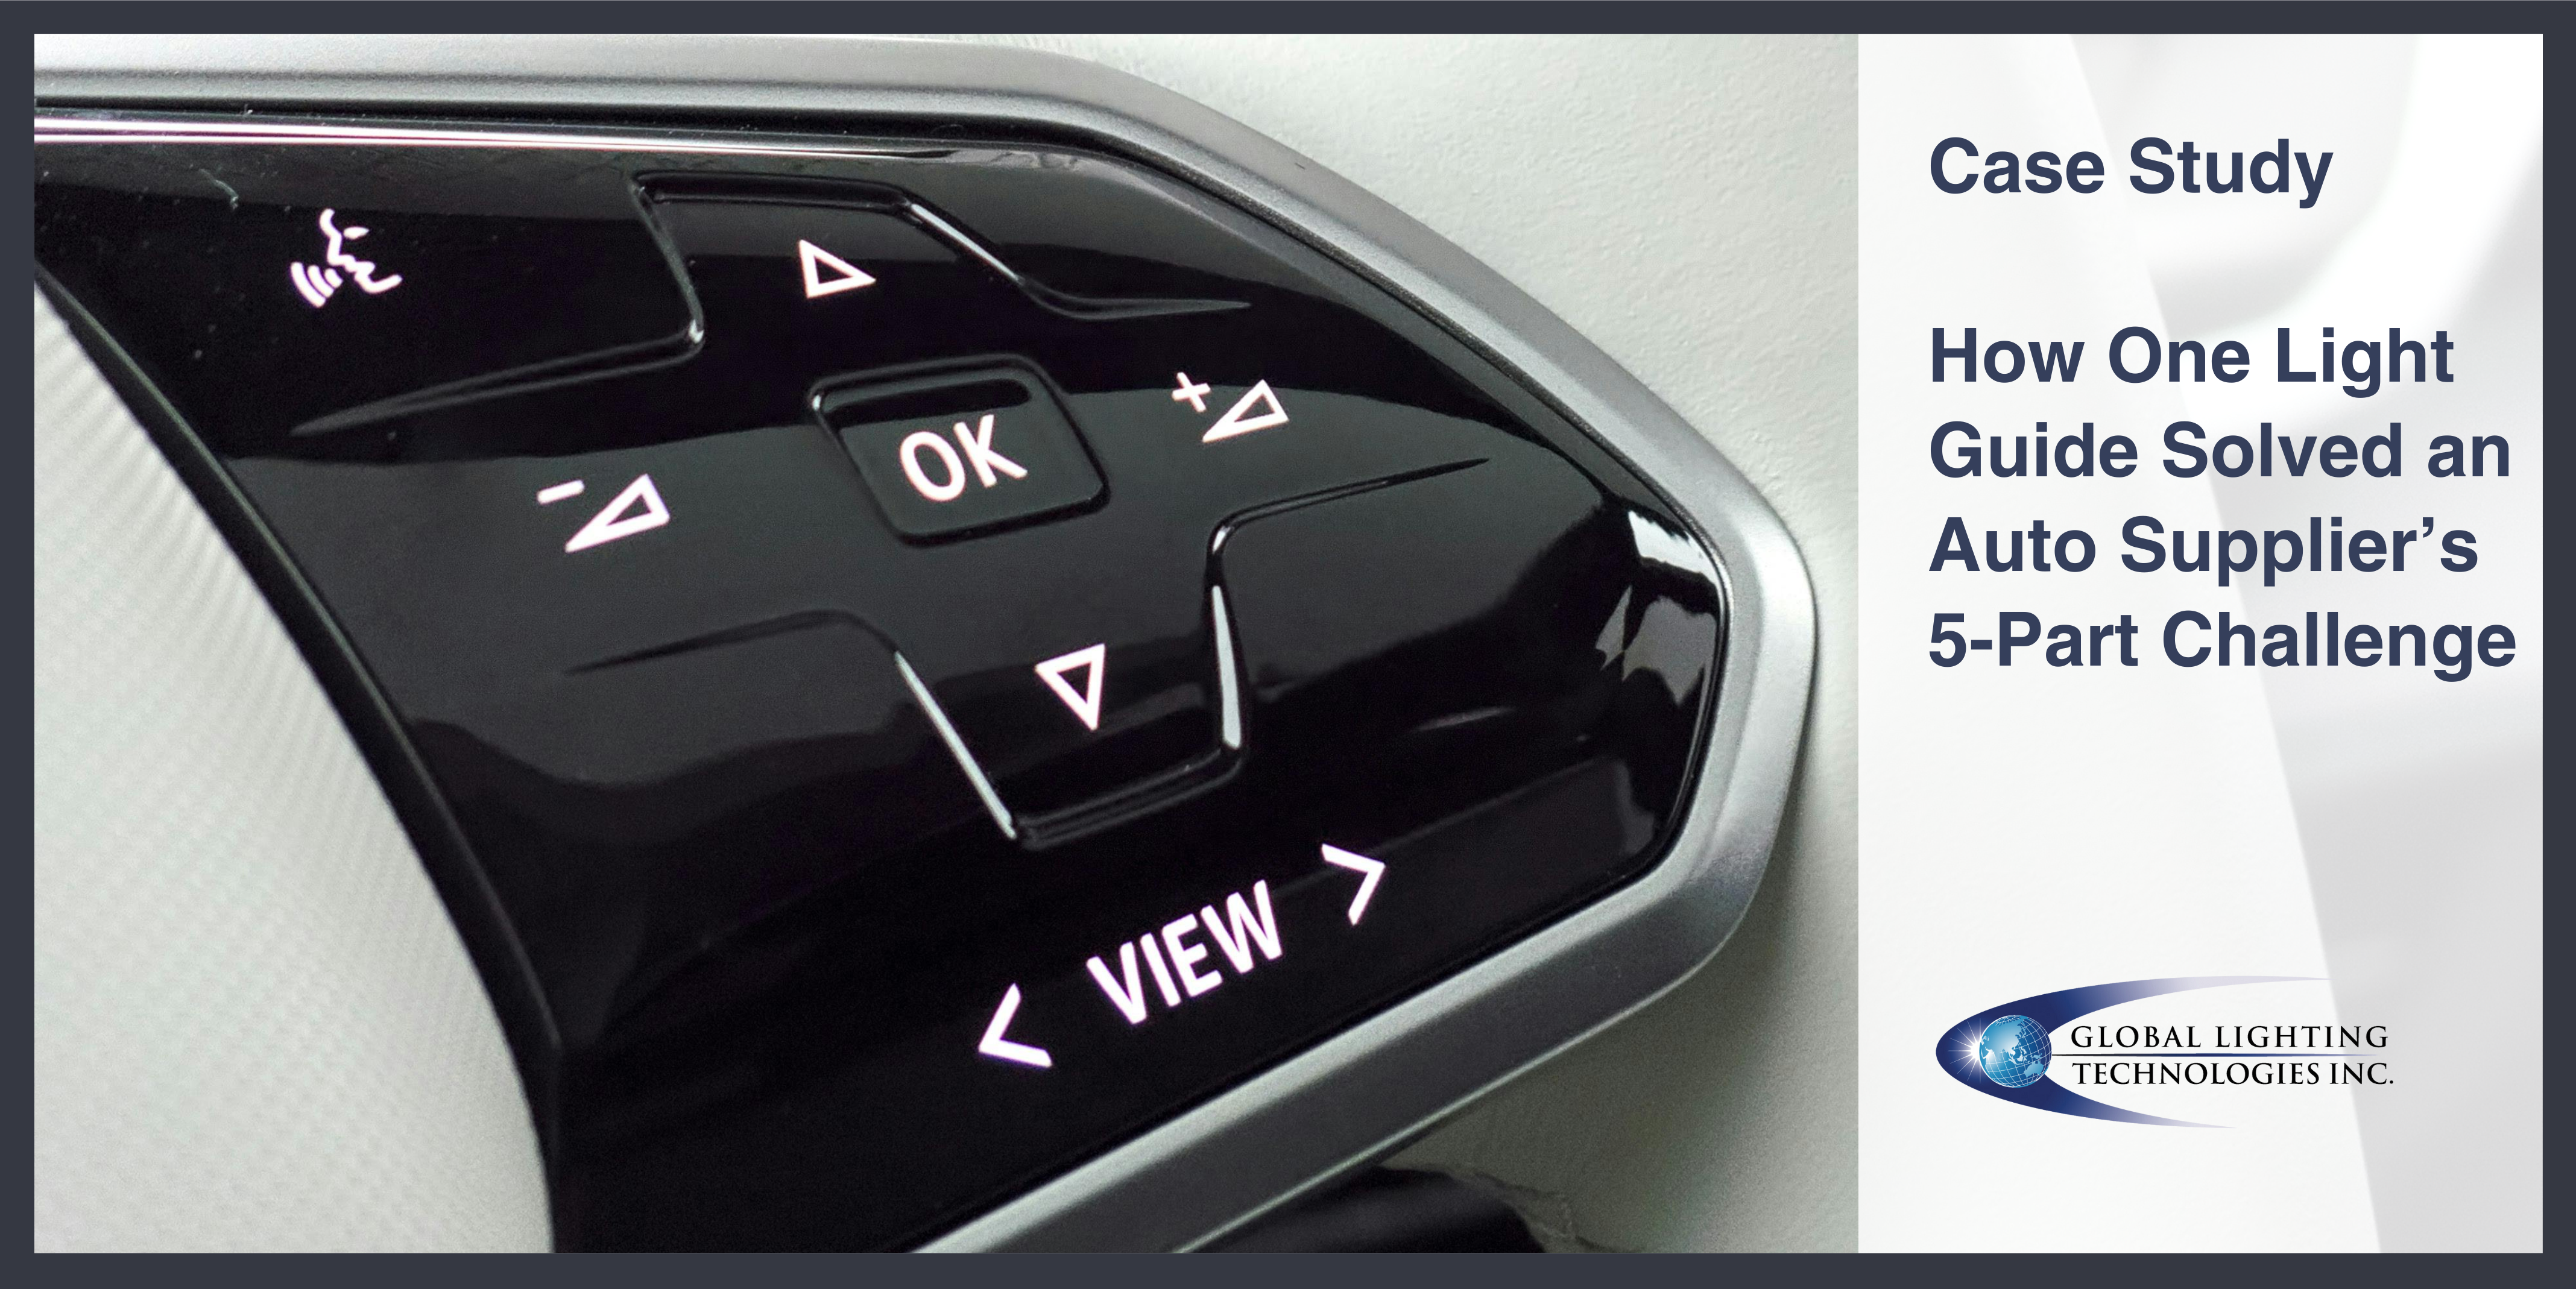
How Integrated Manufacturing Solved an Auto Supplier’s 5-Part Challenge
Real-World Prototype Success Stories
It’s reassuring to see how prototypes don’t just stay on the bench but evolve into real products that make an impact across industries. The lessons learned during prototyping often shape not only the final illumination design, but also how that product performs in the field.
Medical Devices
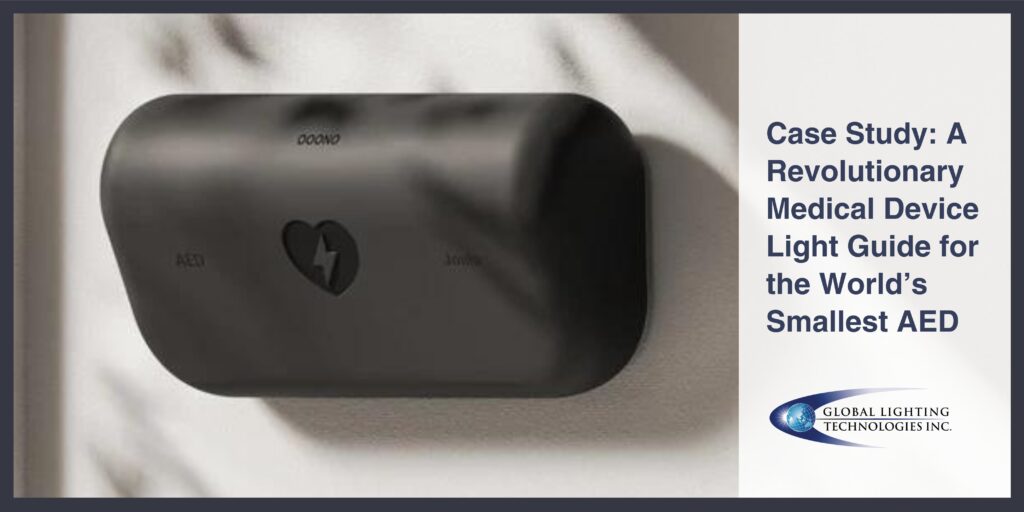
In one case, a medical device manufacturer needed illumination for the world’s smallest automated external defibrillator (AED). Using our prototype methodology, we helped them validate that their light guide was thin, reliable, and power-efficient.
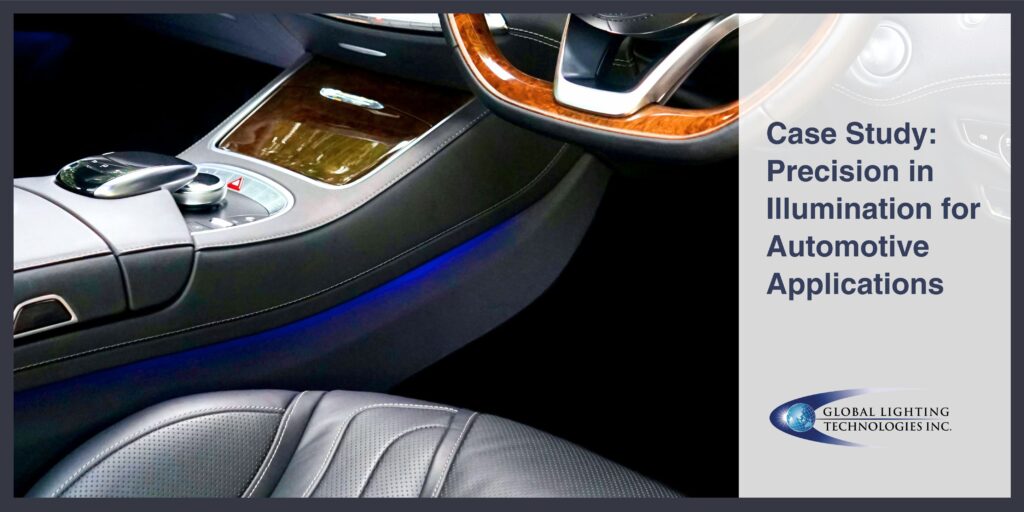
Automotive Applications
Automotive manufacturers demand high-quality, reliable, and efficient lighting solutions that enhance vehicle aesthetics and functionality. Our team was ready to deliver. See the prototypes we created for two auto industry customers and how they transitioned into full-scale production.
Consumer Electronics
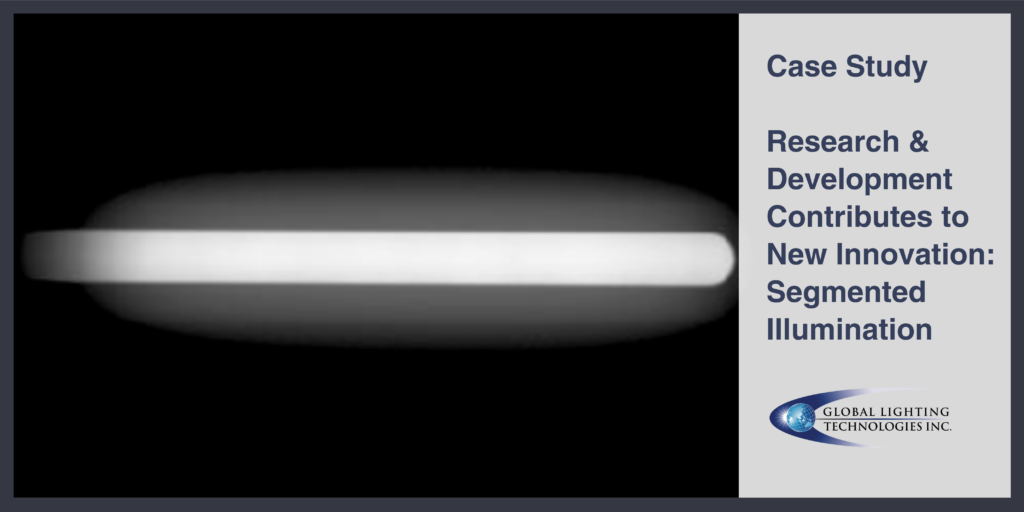
Prototyping also drives innovation in consumer products. A segmented illumination project began as a research and development exercise, where our engineers explored how custom light guide designs could create dynamic lighting zones. The outcome was a scalable, production-ready technology for electronics user interfaces.
Accelerate Your Project with a Successful Prototype Methodology
A prototype helps make the most important decisions in illumination design. By leveraging a clear, proven prototype methodology, you can validate performance early, reduce technical risk, and streamline the path from concept to scalable production. Along the way, choices about brightness, power, materials, and manufacturing methods build the foundation for efficient, reliable production.
For project engineers, the value is twofold:
- Confidence that your design will meet technical requirements
- Assurance that it can be manufactured at scale without costly surprises
With the right partner, you don’t have to tackle these challenges alone. Expert support can help you manage timelines, balance tradeoffs, and accelerate development.
If you’re ready to take the next step, consider sharing your project specs with my team. Every successful product starts with a prototype, and the sooner you validate your illumination design, the sooner you can move forward with confidence.
Jonathan Tarnay
Project Sales Manager
Jon closely collaborates with OEMs throughout project lifecycles to understand their illumination needs and bring visionary ideas to life.
Light Guide Prototype Methodology FAQs
What is the best production method for prototyping?
We leverage three primary prototyping methods: laser-etched, injection-molded, and CNC-machined and polished prototypes. Each method serves different needs (which we cover in-depth here) and timelines.
How long does it take for me to get my prototype?
Every prototype is unique; however, these are typical lead times based on the prototype production method.
- Laser-etched: Typically completed within 4-6 weeks.
- Injection-molded: Requires tooling, extending the timeline to 6-8 weeks.
- CNC-machined: Allows for 3D profiles without injection mold tooling.
What materials are used in custom light guides?
Most prototypes use optically clear acrylic or polycarbonate.
How long does it take to go from prototype to production?
The short answer is, it depends. Once you approve your prototype after any modifications or adjustments, it goes into the Manufacture stage. Your design is sent to one of our five ISO- and IATF-certified manufacturing facilities around the globe for consistent, high-volume production. We produce in quantities of thousands to millions through the process of injection molding, roll to roll embossing, or extruded embossing. These are the key traits of each process:
- Injection Molding: We use an insert containing the optical extraction pattern within the mold to create the custom light guide.
- Roll to Roll Embossing: A thin PC film is embossed with a custom light extraction pattern then die cut to its final size.
- Extruded Embossing: Custom extrusion creates the light guide profile and thickness which is embossed with a custom light extraction pattern.
Can GLT make LED recommendations during prototyping?
Yes. Our team can recommend or source LEDs that meet specific brightness, color, or efficiency requirements, ensuring the prototype reflects real-world performance.
Why is GLT the right choice for my prototyping project?
GLT combines deep expertise in optical design with global manufacturing capabilities. That means prototypes are engineered with production in mind, helping project engineers move from concept to scale-up with fewer risks and delays.